Build Custom AI Models for Raspberry Pi AI Camera - Zero Coding Required!
Imagine turning your Raspberry Pi AI Camera into a powerful AI solution in minutes without writing a single line of code. That's exactly what Brain Builder for AITRIOS delivers. It simplifies the process of developing edge AI applications by providing all the tools you need to label data, train AI models, and export them to your Raspberry Pi AI Camera. The best part? You can get started with as few as 50 images - a fraction of what traditional AI systems require.
Build AI models without code for real-time monitoring edge AI applications.
Work with Classifier, Detector, or Anomaly Recognizer/Hi-Fi models to suit different project needs.
Create your AI model in 3 easy steps: add your dataset, let it analyze the dataset and train the model, and receive a ready-to-use model.

Get your Brain Builder for AITRIOS trial and bring your next edge AI application to life faster and easier.
Now, let’s dive into the AI model options Brain Builder for AITRIOS offers and explore how they can be applied to your Raspberry Pi AI Camera project.
Choose Your Perfect AI Solution: 3 AI Model Templates Included in Brain Builder for AITRIOS
There are three types of AI models (or Brains, as they are called in the application) that you can train in Brain Builder for AITRIOS: Classifier, Detector, and Anomaly Recognizer. And now that we’ve covered the basics, let’s take it a step further and look at specific applications you could create.
Smart Classification: Sort and Categorize with Confidence
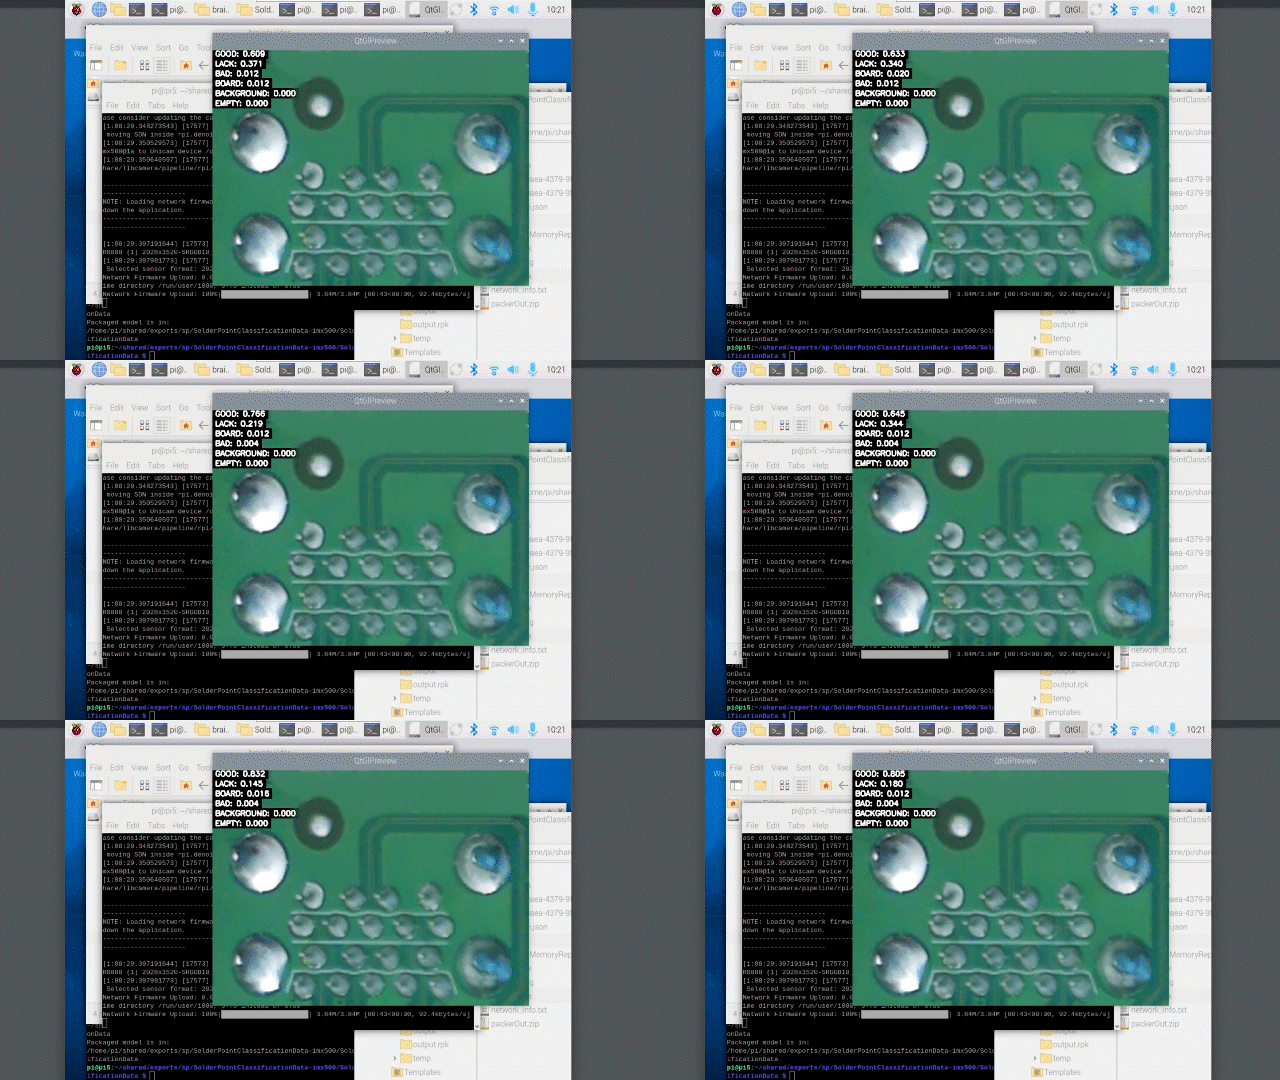
Since this model categorizes images into predefined classes, providing a confidence score for each classification, it is ideal for image-level classification that does not require localization (ranking product quality based on placement, packaging, assembly, and other measurements; monitoring the status of an environment or a machine; indicating the cargo occupancy status in a truck or on a shelf) and multi-class classification (identifying products from a mix of items on a conveyor belt). In our case, we tested it for categorizing circuit boards as:

• “Good” - boards that meet all quality standards
• “Bad” - boards with visible defects or issues
• “Lack” - missing components or parts on the board
• ”Board” - blurred image of the board
• ”Empty” - no board detected in the image
•“Background” - images that include irrelevant areas of the scene.
We used a dataset organized in folders by class and then packaged as a ZIP file. Uploading data organized in this way will enable the Learning Classifier to evaluate your dataset and learn to classify circuit boards accurately into the correct predefined categories. Once the Learning Classifier has been trained and evaluated, you can train the Static Classifier to lock in the results. This is important for consistent deployment and to avoid further changes in predictions.

The user-friendly interface of the application makes it simple to review the evaluation metrics. We were satisfied with our overall performance scores, but if you get low scores, you can fine-tune your dataset by adding more images for underrepresented categories or re-labeling any unclear samples.


Before exporting your Brain, you can also quickly test it by uploading a few images that were not part of the training dataset.

The last step is to download your Brain (AI model) and prepare to deploy it on the Raspberry Pi AI Camera.

Once the model is deployed on the Raspberry Pi AI Camera, you can see the following on the camera feed:

Watch the video with the full process here.
Some other application examples where a classification AI model could be useful are: ranking products based on placement, packaging, assembly, etc., monitor the status of an environment (e.g. open/close door), indicating the status of cargo occupancy in a truck or on a shelf.
Precision Detection: Identify Multiple Objects in Real-Time
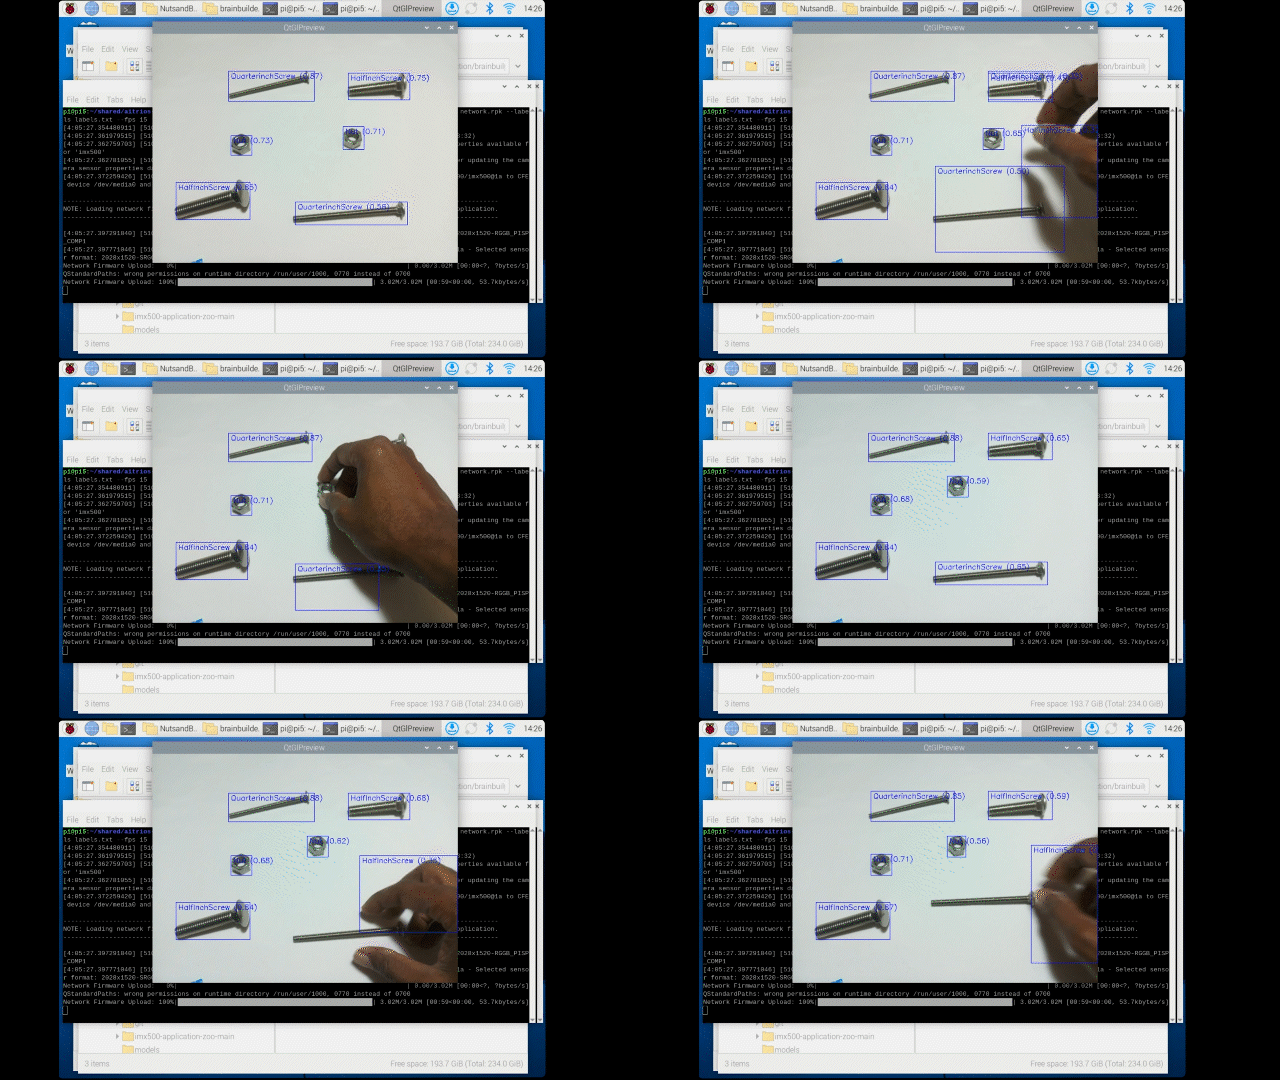
To create a Detector model with Brain Builder is almost as simple as creating the Classifier model. The Detector model identifies and locates multiple objects within an image, outputting bounding boxes and confidence scores. It can prove especially useful for applications such as traffic monitoring or automated quality inspection in manufacturing. To put this into perspective, let’s look at an example of sorting different screws and nuts into the correct categories:

Annotating the Data

Evaluating the Model

Adjusting the Confidence and IoU Thresholds
The Detector model trained with Brain Builder and now running on the Raspberry Pi AI Camera will be able to detect which type of screw is in the frame and differentiate between the shown items:

Quality Guardian: Spot Anomalies Instantly
This model recognizes anomalies in images and can also highlight areas of concern when the Anomaly Hi-Fi is used. It is particularly beneficial for quality control in industrial settings, manufacturing or medical diagnostics to identify deviations or problems with clear visual feedback.
A closer look at the example below where such a model was trained to detect anomalies on cookies shows how this works in practice:

Launch your Brain: 3-Step Deployment Guide
Running your custom-made AI model directly on the Raspberry Pi AI Camera gives you real-time edge AI capabilities, enabling faster and more efficient performance without the need for cloud processing.
You can easily export your AI model from Brain Builder for AITRIOS and deploy it to your Raspberry Pi AI Camera in three steps:
- Export Your Model – Download the required model and label files from Brain Builder for AITRIOS.
- Prepare Your Environment – Install necessary dependencies and convert the model into a deployable format.
- Deploy and Run – Transfer the files to your Raspberry Pi and start running real-time edge AI applications.
For a detailed step-by-step walkthrough, check out the full guide Brain Builder for AITRIOS: Getting Started for Raspberry Pi AI Camera.
If you’re curious to see for yourself how Brain Builder for AITRIOS works, download the software today – including a 10-day trial.
Share this post: